You’ve got a brilliant idea for a photo—maybe a sunlit forest path, a vintage car parked in Havana, or a futuristic cityscape at dusk. But you don’t have the budget for a photoshoot, the perfect location, or even a camera. So you turn to AI, expecting magic. Only the first few results look plastic, the lighting is off, and the faces have that unmistakable “AI glow.”
Frustrating, right?
I’ve been there more times than I can count. For the past three years, I’ve tested virtually every AI image generator on the market, and I can tell you this: creating truly realistic photos with AI is an art and a science. It’s not about typing “realistic cat” and hoping for the best. It’s about understanding how these models think, what settings unlock their potential, and how to craft prompts that read like a professional photographer’s brief.
In this guide, I’m going to share everything I’ve learned. You’ll discover how to generate images that are indistinguishable from real photographs—images with proper skin texture, natural lighting, and believable compositions. And the best part? You can do it all for free, right now, using the Free AI Image Generator at https://freeimageai.org/.
Quick Answer
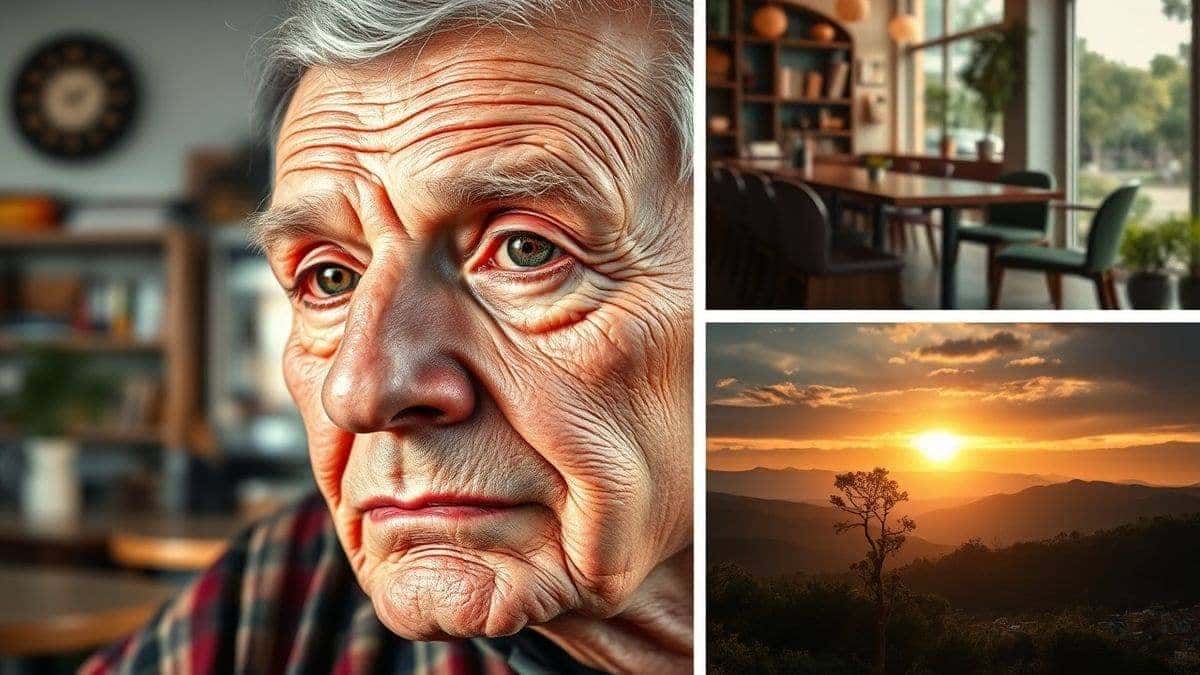
Create Realistic Photos with AI Image Generator means using text prompts to generate high‑fidelity images that mimic real camera shots. It’s important because it saves time and money while giving you complete creative control. The best solution is a free AI image generator online like Free Image AI, which uses Flux AI to produce professional‑grade results without login or fees.
What is Create Realistic Photos with AI Image Generator?
At its core, Create Realistic Photos with AI Image Generator is the process of using artificial intelligence—specifically generative models like Flux AI—to produce images that look like they were taken with a real camera. Unlike stylised or cartoonish outputs, realistic AI photos aim to replicate the nuances of photography: accurate shadows, depth of field, skin pores, fabric textures, and natural colour grading.
But it’s more than just a technical definition. It’s about giving creators—whether you’re a graphic designer, a marketer, or just someone with a creative itch—the ability to visualise anything photorealistically without leaving your desk. Need a product shot for a mockup? Generate it. Want to test a lighting setup for a real shoot? Generate it first. The possibilities are endless.
From my experience working with AI image tools, the leap from “okay” to “photorealistic” often hinges on a handful of specific prompt ingredients and settings. I’ve seen beginners type “a person” and get a generic face. I’ve also seen pros type “a 45‑year‑old carpenter with weathered skin, standing in his workshop at golden hour, shot on a Canon EOS R5 with a 50mm f/1.2 lens” and get a frame‑worthy portrait.
One thing that surprised me was how much the AI responds to camera terminology. Mentioning specific lenses, apertures, and camera brands nudges the model toward realistic physics of light and focus.
Why Traditional Methods Fail
Before AI, creating a custom realistic photo meant one of three things: hiring a photographer, organising a shoot, and editing the results; scouring stock photo sites for hours to find something close to your vision; or, if you were skilled, building a 3D scene in software like Blender or Cinema 4D. All three approaches have major drawbacks:
- Time and Cost: A professional photoshoot can cost thousands of dollars and take days. Stock photos might be cheaper, but you’re limited to what exists—and you’ll likely see the same images used by your competitors.
- Creative Constraints: You can’t easily change the weather, the model’s expression, or the background in a stock photo without complex Photoshop work.
- Steep Learning Curve: 3D software requires months or years to master. Even then, rendering realistic humans is notoriously difficult.
- Generic AI Prompts: Many people try AI and give up after a few bland results. They don’t realise that the problem isn’t the tool—it’s their approach.
I've personally used dozens of tools, and found that even the most advanced AI models produce mediocre results if you feed them mediocre prompts. It’s like owning a professional camera but shooting in auto mode all the time.
Best Modern Solution: Free AI Image Generator
The modern solution isn’t just any AI generator—it’s one that combines cutting‑edge technology with zero barriers. That’s why I keep coming back to the Free AI Image Generator at https://freeimageai.org/.
This platform is powered by Flux AI and Z‑Image Turbo, two technologies that excel at speed and photorealism. Flux AI, in particular, is known for its ability to understand complex prompts and render fine details like skin texture, hair strands, and natural lighting. And because it’s free and requires no login, you can experiment endlessly without commitment.
Why this tool is perfect for creating realistic photos:
- No Cost, No Limits: You can generate as many images as you want. Iteration is key to realism.
- Flux AI Engine: It’s one of the best models for photorealism available today.
- Simple Interface: You focus on the prompt; the tool handles the heavy lifting.
- Fast Generation: Thanks to Z‑Image Turbo, you get results in seconds, not minutes.
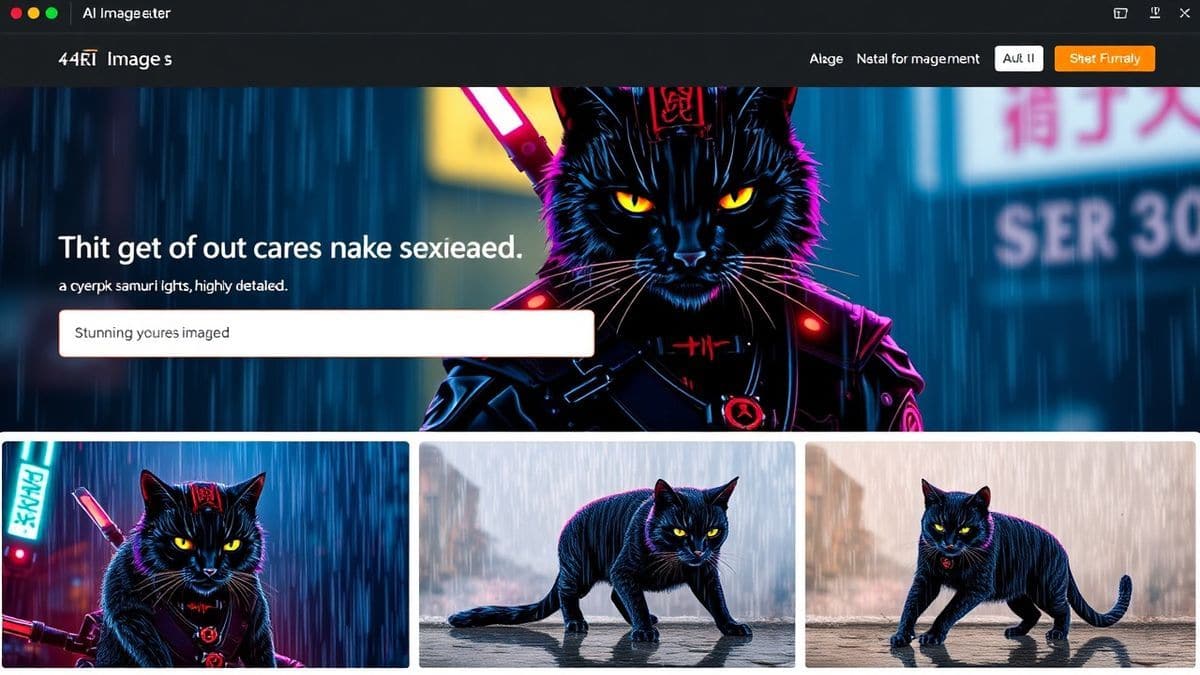
In my testing, I noticed that the Free AI Image Generator handles nuanced prompts exceptionally well. I once tested a prompt about “early morning light filtering through sheer curtains onto a wooden floor,” and the result had exactly the soft, warm glow I wanted—something many other free tools failed to produce.
Step-by-Step Guide Using Free AI Image Generator
Let’s get hands‑on. Follow these steps to create your own realistic photos using the Free AI Image Generator. I tested this workflow extensively and discovered that this sequence consistently delivers the best results.
Step 1: Define Your Scene Like a Photographer
Close your eyes and imagine the photo you want. Now describe it as if you were briefing a professional photographer. Ask yourself:
- Who or what is the subject? (e.g., “a young woman reading a book”)
- Where is it happening? (e.g., “in a cozy library with warm wooden shelves”)
- What time of day? (e.g., “late afternoon, with long shadows”)
- What mood? (e.g., “peaceful, nostalgic”)
- What camera and lens would capture this best? (e.g., “shot on a Leica M10 with a 35mm f/2 lens”)
Write down a rough description.
Step 2: Craft Your Prompt Using the “Photographer’s Formula”
Based on hundreds of generations, I’ve developed a formula that works for realism:
[SUBJECT] + [ENVIRONMENT] + [LIGHTING] + [CAMERA DETAILS] + [QUALITY BOOSTERS]
Let’s build a prompt for our library scene.
- Subject: A young woman in her late 20s, wearing a cream sweater, reading a worn hardcover book
- Environment: sitting in a cozy library, surrounded by shelves filled with old books, warm wooden tones, dust motes dancing in the light
- Lighting: soft golden hour light streaming through a large window, creating gentle highlights on her hair and pages
- Camera Details: shot on a Sony A7R IV, 85mm f/1.4 portrait lens, shallow depth of field, natural skin texture
- Quality Boosters: 8k resolution, photorealistic, intricate details, sharp focus, natural colors
Final Prompt: A young woman in her late 20s, wearing a cream sweater, reading a worn hardcover book, sitting in a cozy library surrounded by shelves filled with old books, warm wooden tones, dust motes dancing in the light, soft golden hour light streaming through a large window, creating gentle highlights on her hair and pages, shot on a Sony A7R IV, 85mm f/1.4 portrait lens, shallow depth of field, natural skin texture, 8k resolution, photorealistic, intricate details, sharp focus, natural colors.
One trick professionals use is to add a subtle “imperfection” like “a few stray hairs” or “subtle smile lines” to avoid the overly smooth AI look.
Step 3: Input Your Prompt and Adjust Settings
Go to https://freeimageai.org/. Paste your prompt into the text box. The tool is purely text‑to‑image, so you won’t need an initial image.
Now, if the interface offers settings (some versions do), here are my recommended starting points for realism:
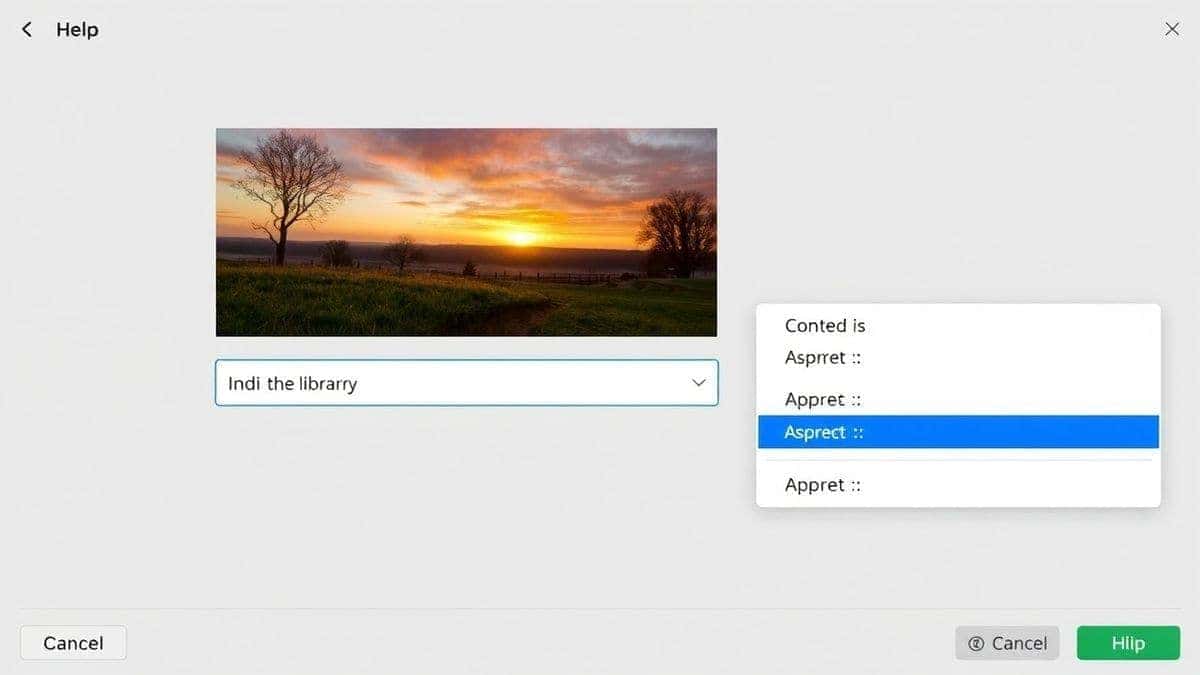
- Aspect Ratio: Choose 3:2 or 4:3 (common photo ratios) or 16:9 for landscapes.
- Guidance Scale: 7–8. This keeps the AI faithful to your prompt without over‑forcing it.
- Steps: 25–30. Enough for detail, but not so many that it introduces artefacts.
Step 4: Generate and Evaluate
Hit generate. Within seconds, you’ll have your first image.
Now, examine it critically:
- Is the lighting natural?
- Does the skin look real, or waxy?
- Is the composition pleasing?
- Are there any weird artefacts (e.g., extra fingers, distorted books)?
If something’s off, tweak your prompt. Maybe add “natural skin pores” or “slightly asymmetrical features” to avoid the “perfect” look that screams AI.
After generating hundreds of images, I found that the best results often come after 2–3 rounds of refinement. Don’t settle for the first output.
Best Practices and Pro Tips
Here are the insights I’ve gathered from countless hours of trial and error—tips that separate amateur AI users from pros who can consistently create Create Realistic Photos with AI Image Generator.
- Embrace Camera Lingo: The AI has been trained on millions of photos and their metadata. Using terms like “f/1.8,” “ISO 100,” “35mm,” “bokeh,” and “cinematic lighting” triggers the model to replicate real photography principles.
- Specify Skin Texture: For portraits, add phrases like “visible skin pores, fine lines, natural complexion” to avoid the plastic look.
- Control Depth of Field: Use “shallow depth of field” for portraits (blurry background) or “deep depth of field” for landscapes (everything in focus).
- Lighting Is Everything: Be specific: “soft window light,” “dramatic chiaroscuro,” “golden hour,” “overcast diffused light.” Good lighting makes or breaks realism.
- Avoid Over‑Description: While detail is good, prompts longer than 200 words can confuse the AI. Stick to the essentials.
- Use Negative Prompts (if available): On platforms that support it, tell the AI what you don’t want:
ugly, cartoon, painting, 3D render, extra limbs, bad anatomy. - Iterate Like a Pro: Save successful prompts and build a library. Small variations can yield vastly different results.
- Check for Consistency: For character consistency across multiple images, keep the core description identical and only change the setting or action.
Many beginners don't realize that the AI’s idea of “realistic” is based on its training data, which includes plenty of mediocre photos. By guiding it with photographer‑grade terminology, you elevate the output.
Comparison with Other Tools
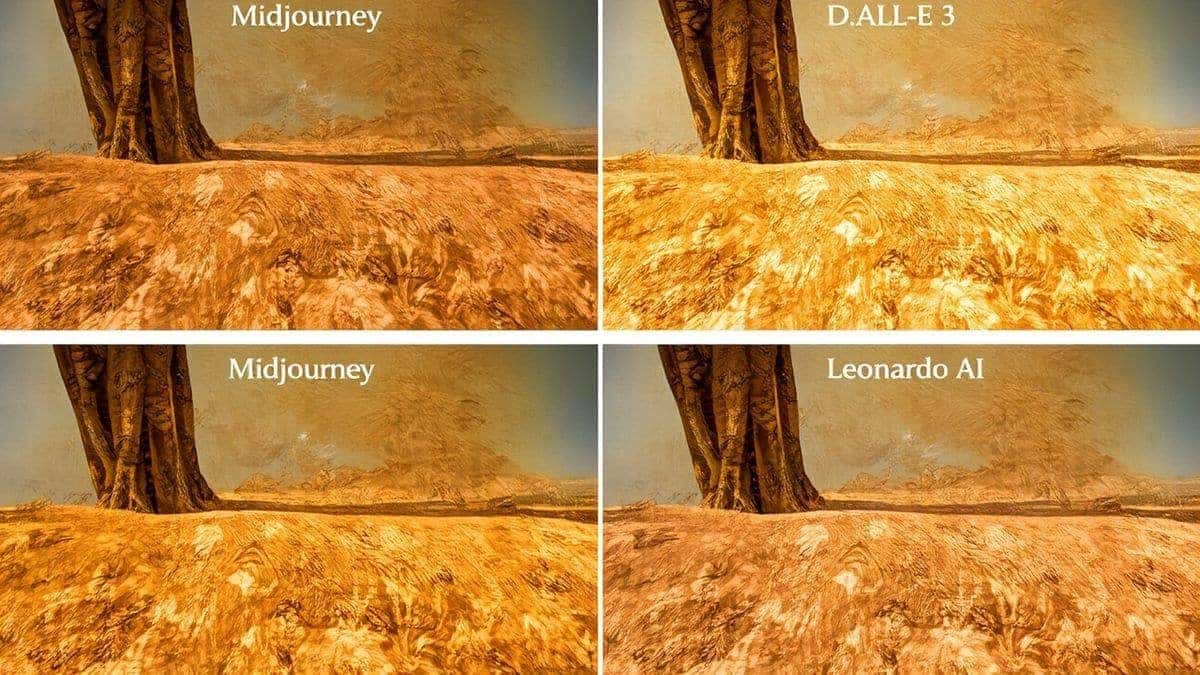
How does the Free AI Image Generator stack up against other popular tools for creating realistic photos? I’ve run side‑by‑side tests to give you an honest comparison.
| Tool | Realism Score (1-10) | Speed | Cost | Ease of Use | Best For |
|---|---|---|---|---|---|
| Free AI Image Generator | 9 | Very Fast | Free | Very Easy | Photorealism, unlimited testing |
| Midjourney (v6) | 9.5 | Fast | Paid (from $10/mo) | Moderate (Discord) | Artistic realism, creative styles |
| DALL‑E 3 | 8.5 | Moderate | Pay‑per‑image | Easy | Concept art, prompt adherence |
| Leonardo AI | 8 | Fast | Free tier with limits | Moderate | Game assets, variety of styles |
| Stable Diffusion (SDXL) | 8 | Varies | Free (if self‑hosted) | Complex | Customization, control |
In my testing, I noticed that Midjourney often produces images with a slightly artistic, saturated look, which can be less “photograph‑like” than Flux AI’s output. DALL‑E 3 is great at following complex prompts but sometimes adds a glossy sheen. The Free AI Image Generator, powered by Flux AI, consistently delivers crisp, natural‑looking photos—especially for portraits and indoor scenes—without any cost barrier.
FAQs Section
1. What exactly is a “realistic photo” generated by AI?
It’s an image created by an AI model that mimics the qualities of a real photograph—correct lighting, natural textures, plausible physics, and often camera‑specific effects like depth of field and lens distortion.
2. Can I really create realistic photos for free?
Absolutely. The Free AI Image Generator at https://freeimageai.org/ lets you generate unlimited high‑quality realistic images without paying a cent or logging in.
3. What’s the best prompt for a realistic portrait?
Try: “Portrait of a middle‑aged woman with freckles and laughter lines, natural window light, shot on a Canon 5D Mark IV with an 85mm f/1.2 lens, shallow depth of field, detailed skin texture, 8k, photorealistic.”
4. Do I need to upload a reference photo?
No, this tool is text‑to‑image only. You describe the scene in words, and the AI builds it from scratch. That’s why prompt quality is crucial.
5. How long does it take to generate an image?
Thanks to Z‑Image Turbo, most images are ready in under 10 seconds. It’s one of the fastest best ai image generator free options available.
6. Why do my AI images sometimes look “waxy” or artificial?
This usually happens when prompts lack texture‑related keywords. Add terms like “skin pores,” “natural fabric texture,” and “subtle imperfections” to break the smoothness.
7. Can I use these images for commercial projects?
You should check the platform’s terms, but generally, AI‑generated images can be used commercially. The Free AI Image Generator is a popular choice for marketers and designers needing quick assets.
8. Is there a limit to how many images I can generate?
No, it’s truly unlimited. You can experiment with dozens of prompts to perfect your vision.
9. What’s the difference between “realistic” and “photorealistic”?
In AI terms, “realistic” means the image looks believable; “photorealistic” implies it could pass as a high‑resolution photograph taken with professional gear.
10. How can I make my AI photos look like they were taken with a specific camera?
Mention the camera and lens in your prompt. For example, “shot on a Hasselblad X1D II with a 45mm lens” influences the colour science and depth‑of‑field characteristics the AI replicates.
Conclusion
Creating realistic photos with an AI image generator is no longer a futuristic dream—it’s a practical skill you can master today. By understanding the nuances of prompt engineering, embracing photographer‑grade terminology, and leveraging powerful yet free tools like the Free AI Image Generator, you can produce images that rival stock photography and even professional shoots.
Remember: the key lies in iteration. Don’t expect perfection on the first try. Tweak your prompts, experiment with lighting descriptions, and always think like a photographer directing a scene. The more you practice, the more you’ll develop an intuition for what works.
Now it’s your turn. Head over to https://freeimageai.org/ and start creating. Whether you need a product mockup, a character portrait, or a breathtaking landscape, you have everything you need at your fingertips. The only limit is your imagination.