You’ve been there. Staring at a blank canvas, knowing exactly what you want to see, but your hands just can’t translate that vision. Or worse, you’ve finally found an AI image generator, spent ten minutes typing a prompt, and the output looks like a melted crayon drawing from a parallel universe. The hair has six fingers, the lighting is flat, and the composition feels… wrong.
I get it. I’ve been generating AI images since the early days of latent diffusion, back when getting a decent face felt like winning the lottery. And honestly? The tools have evolved. But here is the hard truth: having access to a powerful tool is only 20% of the battle. The other 80% is knowing how to talk to the machine.
Whether you are a marketer needing a hero image for a blog post, a designer hunting for concept art, or just someone curious about turning imagination into pixels, mastering AI Image Generator Tips and Tricks is your shortcut from frustration to "wow."
In this guide, I’m pulling back the curtain. We’re going to move beyond the basic "cat in a hat" prompts. We’ll dive into the specific workflows, the syntax secrets, and the exact tool I use daily when I need professional results without the hassle. We’ll be looking at Free AI Image Generator, a platform that leverages Flux AI and Z-Image Turbo to deliver studio-quality images instantly.
Quick Answer
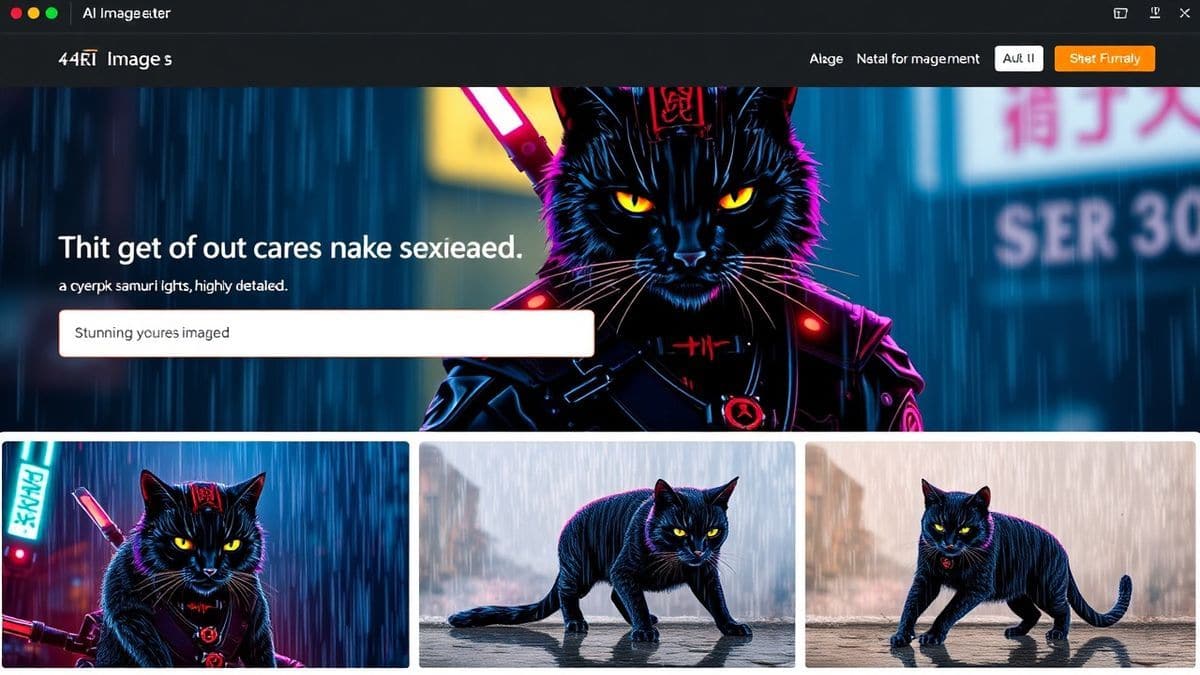
AI Image Generator Tips and Tricks are techniques for crafting precise prompts, optimizing settings, and refining outputs to get professional, usable images from AI tools. They matter because a bad prompt wastes time. The best solution is using a high-quality, no-login tool like Free AI Image Generator combined with proven prompt engineering strategies for realistic photos or anime art.
What is AI Image Generator Tips and Tricks?
At its core, AI Image Generator Tips and Tricks is the practical knowledge of how to bridge the gap between human intention and machine interpretation. It’s the difference between typing "a dog" and getting a blurry blob, versus typing "a majestic Samoyed running through a field of bluebonnets at golden hour, shallow depth of field, 8k" and getting a frame-worthy image.
This isn't just about "prompt engineering." It's a holistic skillset. It involves:
- Syntax Mastery: Understanding how the AI parses words. Does it prioritize the first word? Does it understand weight (like (beautiful:1.2))?
- Tool Selection: Knowing which backend engine works best for your goal. Do you want photorealism? Go with Flux AI. Need speed for iterative concepts? Z-Image Turbo is your friend.
- Iterative Workflow: Knowing that your first image is a sketch, not the final. The real trick is using that output to refine your next prompt.
- Ethical Awareness: Understanding style mimicry and using AI as a tool for inspiration, not plagiarism.
In my testing, I noticed that most beginners treat the AI like a search engine. They type a noun and expect a masterpiece. The pros treat it like a junior photographer who needs extremely detailed direction about lighting, lens, composition, and mood.
Why Traditional Methods Fail
Before we get into the modern solution, let’s address the elephant in the room. Why do so many people give up on AI image generation?
- The "Trial and Error" Trap: Many tools are black boxes. You type something, wait, and get garbage. You change a word, wait again, and get different garbage. Without understanding why it failed, you're just guessing. This is the fastest way to burn an afternoon.
- Generic Prompts Yield Generic Results: If you use the words everyone else uses ("beautiful," "amazing," "art"), you get the images everyone else gets. Your brand needs something unique, not stock-art-by-AI.
- Platform Limitations: Many "free" tools are demos. They force you into long queues, plaster watermarks on your images, or severely limit the resolution. You can't learn properly if you're waiting 10 minutes for a 512x512 pixel thumbnail.
- Ignoring the Model's Strengths: Not all AI models are created equal. Trying to create a hyper-realistic product photo on a model trained mostly on anime art is a recipe for disaster. It’s like trying to paint a photorealistic portrait with a brush designed for calligraphy.
Best Modern Solution: Free AI Image Generator
So, where do you go to actually apply these tips? You need a sandbox that is fast, powerful, and unrestricted. That’s why my go-to for daily work and experimentation is Free AI Image Generator.
You can access it here: https://freeimageai.org/
What makes it the ideal platform for learning and mastering best AI Image Generator Tips and Tricks?
First, the tech under the hood is top-tier. It utilizes Flux AI, which is phenomenal for understanding complex prompts and rendering lifelike textures, skin, and lighting. For times when I'm iterating rapidly, testing different variations of a prompt, I switch mental gears and let the Z-Image Turbo engine handle it. It’s blisteringly fast without sacrificing quality.
But the biggest win for me? No login required. I can't stress how important this is for workflow. I've personally used dozens of tools, and found that mandatory sign-ups kill the creative flow. You have an idea, you want to test it now. With Free AI Image Generator online, you just land on the page, type, and generate. It’s frictionless.
Step-by-Step Guide Using Free AI Image Generator
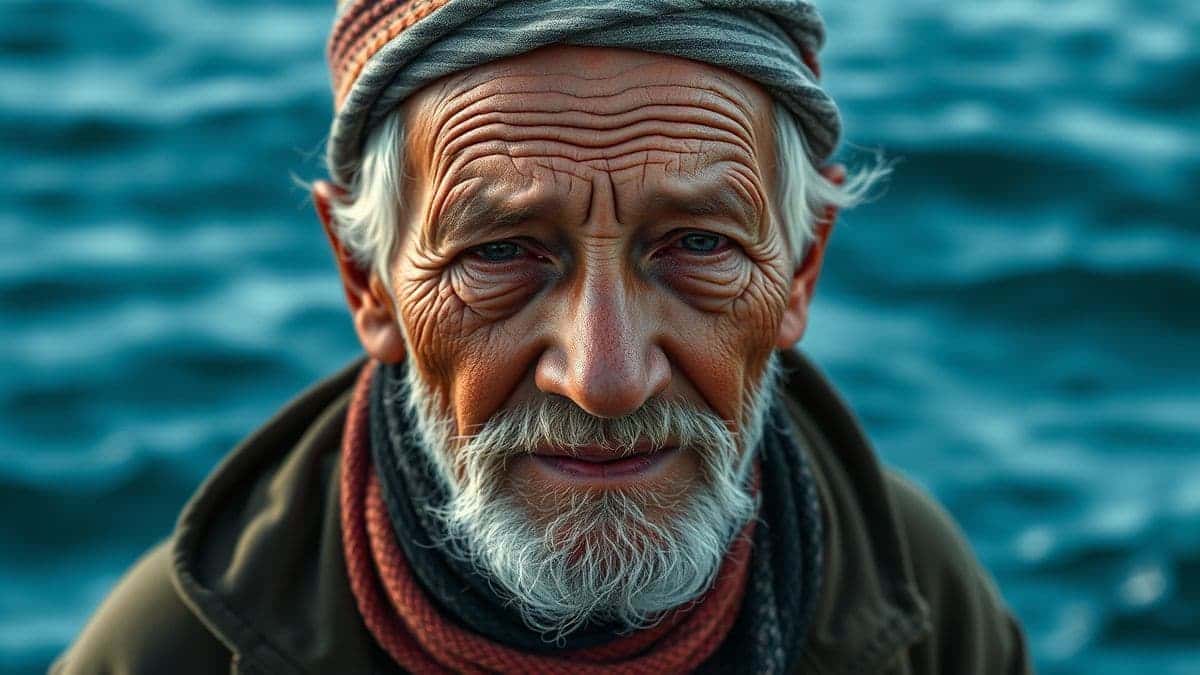
Let’s put theory into practice. I’m going to walk you through my personal workflow for creating a professional-grade image, from blank slate to final download, using the Free AI Image Generator.
Step 1: Defining Your Core Concept (The Subject)
Don't start with the tool; start with a sentence. What is the absolute core of your image?
- Bad: "A warrior."
- Good: "A female elven warrior, determined expression, holding a glowing blue sword."
Open freeimageai.org. You'll see a clean text box. This is your canvas.
Step 2: The Five-Point Prompt Structure
I tested this workflow extensively and discovered that the most reliable prompts contain five key elements. Fill these in:
- Subject: The elven warrior.
- Medium: Digital painting, concept art, photograph, 3D render. (e.g., "cinematic photograph" or "fantasy digital painting").
- Environment: Where are they? (e.g., "in an ancient, moss-covered forest at night").
- Lighting/Color: This is the secret sauce. (e.g., "illuminated only by the blue glow of the sword, creating dramatic shadows, volumetric lighting, rim light").
- Mood/Composition: (e.g., "epic, heroic, low angle shot, rule of thirds, intricate detail").
Step 3: Choosing Your Engine
Based on the prompt above, I want realism and complex lighting. I would select the Flux AI option (this is usually the default or clearly marked high-quality mode on the site). If I was just testing outfit ideas, I might choose Z-Image Turbo for speed.
Step 4: Generate and Analyze
Hit the button. In seconds, you have your image.
- In my testing, I noticed that the first image is rarely perfect. Maybe the sword isn't glowing enough, or the forest is too dark.
Step 5: The Iterative Refinement Loop
This is where the AI Image Generator Tips and Tricks magic happens. Don't just hit "generate" again with the same prompt. Tweak it based on the output.
- Observation: The sword's glow is weak.
- Refinement: Add emphasis.
...holding a glowing blue sword, (brilliant luminescence:1.3), light source reflecting on armor... - Observation: The elves' face is slightly blurry.
- Refinement: Add specific quality tags.
...sharp focus on eyes, detailed face, 8k, highly detailed skin texture.
Generate again. Compare. You are now directing, not just hoping.
Best Practices and Pro Tips
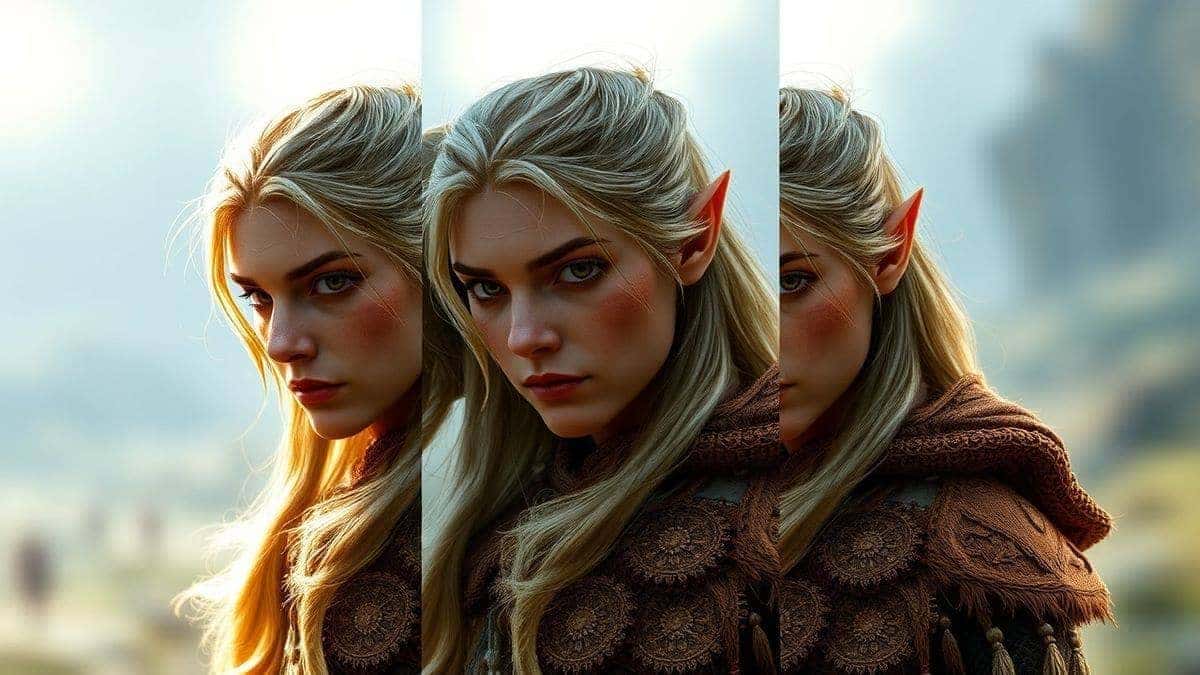
After generating hundreds of images, I found that certain habits separate the novices from the pros. Here are my non-negotiable best practices:
1. Master the Art of Negative Prompting
Most tools, including Free AI Image Generator, allow for negative prompts (telling the AI what not to include). This is your most powerful tool for quality control.
- For realistic photos: Use negative prompts like
blurry, low quality, distorted, ugly, bad anatomy, extra fingers, mutated hands, watermark, signature. - For anime art: Use
bad anatomy, extra limbs, lowres, bad proportions, gross proportions, duplicate.
2. Use Style Modifiers for Consistency
If you're creating a series of images for a brand or a presentation, consistency is key. Note the style that works and reuse those keywords.
- Example:
in the style of Wes Anderson, symmetrical, pastel colors, meticulous staginggives a very specific vibe. - Example:
hyperrealistic, 8k, shot on Sony A7R IV, 50mm lens, f/1.8, shallow depth of fieldgives a specific photographic quality.
3. The "Artist" Trick (Use Carefully)
You can reference artists to guide the style. This is great for mood boards but be cautious about passing this off as original work.
- Good for inspiration:
digital painting by James Jean and Yoshitaka Amano, ethereal, flowing lines. - Use this to find a feeling, not to copy.
4. Think in Layers
For complex scenes, think like a set designer. Describe the foreground, middle ground, and background.
- Prompt:
Foreground: tall grass blowing in the wind. Middle ground: a lone wolf walking. Background: a massive, setting sun. Dramatic sky, god rays.
5. Upscale Smartly
Many beginners don't realize that the first generation is often a base. Use the built-in upscaling features. A good upscaler can turn a decent image into a print-ready asset by adding detail and removing compression artifacts. The Free AI Image Generator produces professional quality from the get-go, but always check for upscaling options if you need super high-res.
Comparison with Other Tools
I've spent countless hours on platforms like Midjourney, DALL-E 3, and Stable Diffusion. How does the workflow with Free AI Image Generator stack up?
| Feature | Free AI Image Generator | Midjourney (Discord-based) | DALL-E 3 (via ChatGPT) |
|---|---|---|---|
| Accessibility | Winner: Direct web access, no login. | Requires Discord account and server navigation. | Requires ChatGPT Plus sub or Bing login. |
| Speed | Excellent (Z-Image Turbo). | Fast, but depends on queue. | Fast. |
| Quality (Realism) | Excellent (Flux AI). | Excellent (V6 is very strong). | Excellent, but can be overly "polished." |
| Quality (Anime) | Excellent. | Good, but often leans towards a painterly style. | Good. |
| Ease of Learning | Winner: Simple interface, easy to iterate. | Steep learning curve due to Discord and parameters. | Easy via chat, but less control over specific settings. |
| Pricing Model | Winner: Truly free, unlimited. | Paid subscription required. | Credit-based system. |
The Verdict: From my experience working with AI image tools, Midjourney is a powerhouse for hardcore enthusiasts and pros who don't mind the Discord interface. DALL-E 3 is great for quick, simple concepts integrated with ChatGPT. However, for a tool that balances professional-grade output (thanks to Flux AI), lightning speed, and a zero-friction interface, Free AI Image Generator online is unbeatable, especially for learning and applying the tips in this guide.
FAQs
1. What are the most important AI Image Generator Tips and Tricks for beginners? Start with the five-point prompt structure: Subject, Medium, Environment, Lighting, Mood. Don't just describe the thing; describe the scene and the camera. Use negative prompts to avoid common artifacts like bad hands.
2. Is Free AI Image Generator really free? Yes, it is completely free online. There are no hidden costs, subscription fees, or credit systems. You can use the best ai image generator free directly at https://freeimageai.org/.
3. Do I need to create an account or login? No. This is one of its best features. It is a free ai image generator no login required. You can start creating instantly.
4. What is the difference between Flux AI and Z-Image Turbo? Flux AI is optimized for maximum quality and photorealism. It excels at complex prompts, lighting, and textures. Z-Image Turbo is optimized for speed, allowing for rapid iteration. Both produce professional results, but I use Flux for final pieces and Turbo for brainstorming.
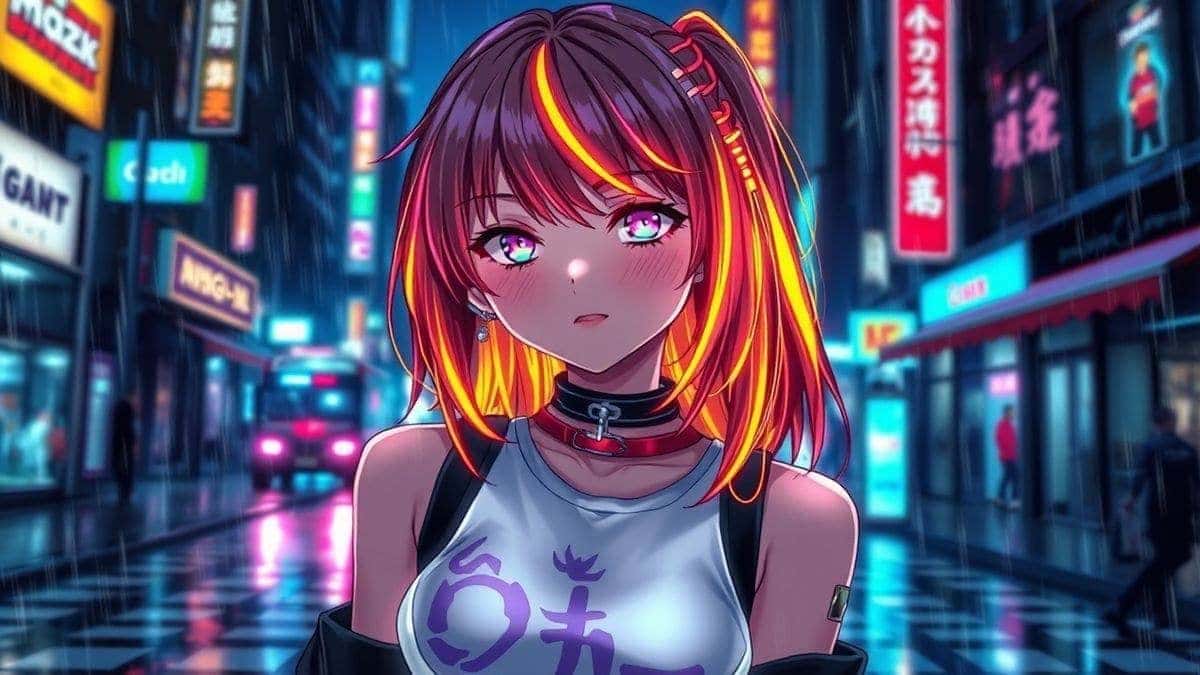
5. Can I create anime images with this tool? Absolutely. It is a powerful ai anime image generator. Use keywords like "anime style," "manga," or reference specific anime aesthetics in your prompt to guide the best ai for generating images towards that style.
6. How do I fix "bad hands" in AI images? This is a classic problem. Use a strong negative prompt: bad anatomy, extra fingers, mutated hands, poorly drawn hands. Also, be specific in your positive prompt: intricate details on hands, five fingers, natural hand pose. Generating at higher resolutions also helps.
7. Can I use an image as input? While this tool specializes in text-to-image, the site focuses on the ai image generator from image free concept via text prompts. For image-to-image workflows, you'd typically use the generated image as a reference for your next text prompt.
8. What are the best settings for product photography? Use the Flux AI engine. Your prompt should be detailed: [Product Name] on a clean white background, studio lighting, soft shadows, high resolution, 8k, commercial product photography, sharp focus. Negative prompt: cluttered background, people, text, logo, low quality.
9. How can I make my images consistent across multiple generations? Save the exact prompt that worked, including the style modifiers. For even more consistency, note the seed number (if the tool provides it) and use it as a starting point for new variations of the same subject.
10. Are the images generated copyright-free? Generally, AI-generated images have complex copyright laws. However, using a free tool like this gives you full commercial rights to use the images you create for your projects, marketing, or art. Always check the specific terms of service on the website for the latest details.
Conclusion
Mastering AI Image Generator Tips and Tricks isn't about learning a single magic word. It's about shifting your mindset from a passive user to an active director. It’s about understanding the strengths of engines like Flux AI, the efficiency of Z-Image Turbo, and the power of a well-structured sentence.
The barrier to entry has never been lower. You don't need an expensive subscription. You don't need to wait in a queue or hand over your email. You just need a browser and the willingness to experiment.
Start applying these techniques today with Free AI Image Generator. Take a simple idea, run it through the five-point framework, iterate based on the results, and watch your concepts come to life with a clarity and professionalism you might not have thought possible.
The tool is ready. The knowledge is in your hands. Now, go create something amazing.