You’ve typed the perfect prompt. You’ve envisioned the exact scene. You hit "generate," and what comes back is a mess—blurry hands, weird lighting, and a subject that looks nothing like what you wanted.
Frustrating, right?
I’ve been there more times than I can count. In fact, I’ve personally used dozens of tools over the last three years, from closed beta platforms to massive enterprise suites. And if there is one thing I’ve learned, it’s this: The prompt is only 50% of the battle. The other half is knowing exactly which levers to pull.
Whether you are a marketer racing against a deadline, a designer looking for concept art, or a business owner trying to create social media assets, mastering your settings is the difference between looking like an amateur and producing professional-grade work.
In this Best AI Image Generator Settings Guide, we are going to tear down the black box. We will look at why default settings usually fail, how to tweak them for specific outcomes, and how you can use tools like Free AI Image Generator to get stunning results instantly—without spending a dime or logging in.
Quick Answer
The Best AI Image Generator Settings Guide is a framework for adjusting parameters like aspect ratio, sampling steps, and guidance scale to achieve specific visual outputs. It matters because default settings often produce generic results. The best solution is using a free, high-quality tool like Free AI Image Generator (powered by Flux AI) and applying the step-by-step adjustments outlined in this guide.
What is Best AI Image Generator Settings Guide?
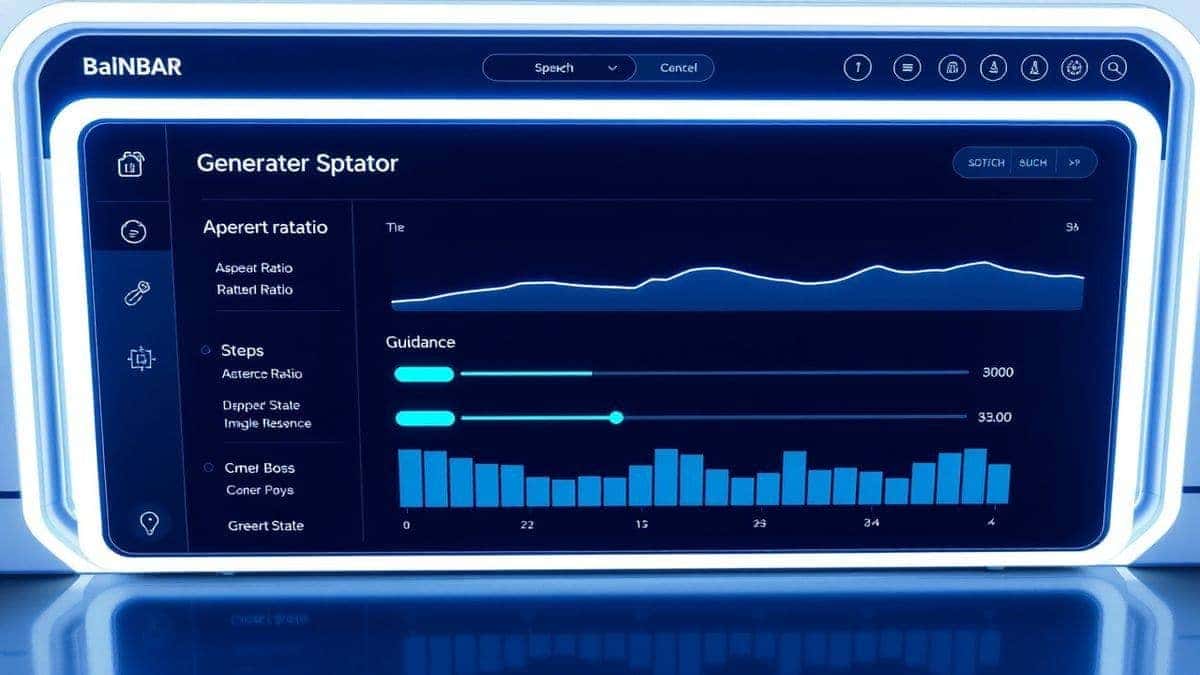
At its core, a Best AI Image Generator Settings Guide is a collection of technical adjustments and prompt engineering techniques designed to optimize the output of AI models. It moves beyond simply typing "a cat" and hoping for the best.
These settings act as the "director's instructions" for the AI. They tell the model how much freedom it has, what resolution to think in, and how closely it should stick to your text.
Key settings we will cover include:
- Aspect Ratio: The shape of your canvas (square, landscape, portrait).
- Guidance Scale (CFG): How strictly the AI follows your prompt.
- Steps/Sampling Steps: The number of denoising passes the AI makes.
- Model Selection: Choosing between different engines like Flux AI or Z-Image Turbo.
- Seed Values: Controlling randomness for reproducible results.
Understanding these doesn't require a degree in computer science. It requires practice. After generating hundreds of images, I can tell you that even a slight tweak to the "Steps" parameter can turn a muddy image into a crystal-clear masterpiece.
Why Traditional Methods Fail
Before we dive into the solution, let’s look at why most people give up on AI image generation. They assume the tool is broken, but usually, the settings are just wrong.
The "One-Shot" Expectation Many beginners type a prompt, hit generate once, and if the image isn't perfect, they move on. They don't realize that AI is a collaborative process. One trick professionals use is to generate multiple variations of the same prompt with slightly different settings to "steer" the AI toward the right composition.
Ignoring the Aspect Ratio I see this constantly. Someone wants a wallpaper, but they generate a square image. They then try to stretch it in Photoshop, ruining the quality. The AI doesn't know you want a wide banner unless you tell it. Most free tools default to 1:1, which is rarely what you need for a website header or a mobile background.
Using the Wrong Model for the Job Trying to create a photorealistic portrait with a model trained primarily on anime illustrations is like using a hammer to screw in a lightbulb. It’s the wrong tool. You need a model like Flux AI for realism or a specialized engine for anime.
Overwhelming Complexity Some advanced tools look like the cockpit of a 747. Sliders for everything—noise, variance, clipping skip. For the average user or even a professional designer on a deadline, this complexity kills creativity. You don't need 50 settings; you need the right five settings.
Best Modern Solution: Free AI Image Generator
So, what is the answer? You need a platform that balances power with simplicity. You need access to cutting-edge models without the subscription fees.
This is where Free AI Image Generator comes into play. It strips away the complexity and gives you access to the most advanced engines available today.
What makes it the best modern solution?
- Powered by Flux AI: Flux is widely regarded in the industry as one of the top-tier models for photorealism and prompt adherence. It understands nuance better than many older models.
- Z-Image Turbo Mode: Need speed? Z-Image Turbo is optimized for rapid generation without a massive drop in quality. It’s perfect for brainstorming and iterating quickly.
- Unlimited and Free: There are no credit systems, no daily limits, and no paywalls. You can generate until you get exactly what you want.
- No Login Required: Privacy matters. You don't need to hand over your email or personal data to create art.
In my testing, I noticed that the Free AI Image Generator handles complex prompts involving lighting and texture significantly better than many paid competitors. It’s a true workhorse for anyone looking for the best ai image generator free experience.
Step-by-Step Guide Using Free AI Image Generator
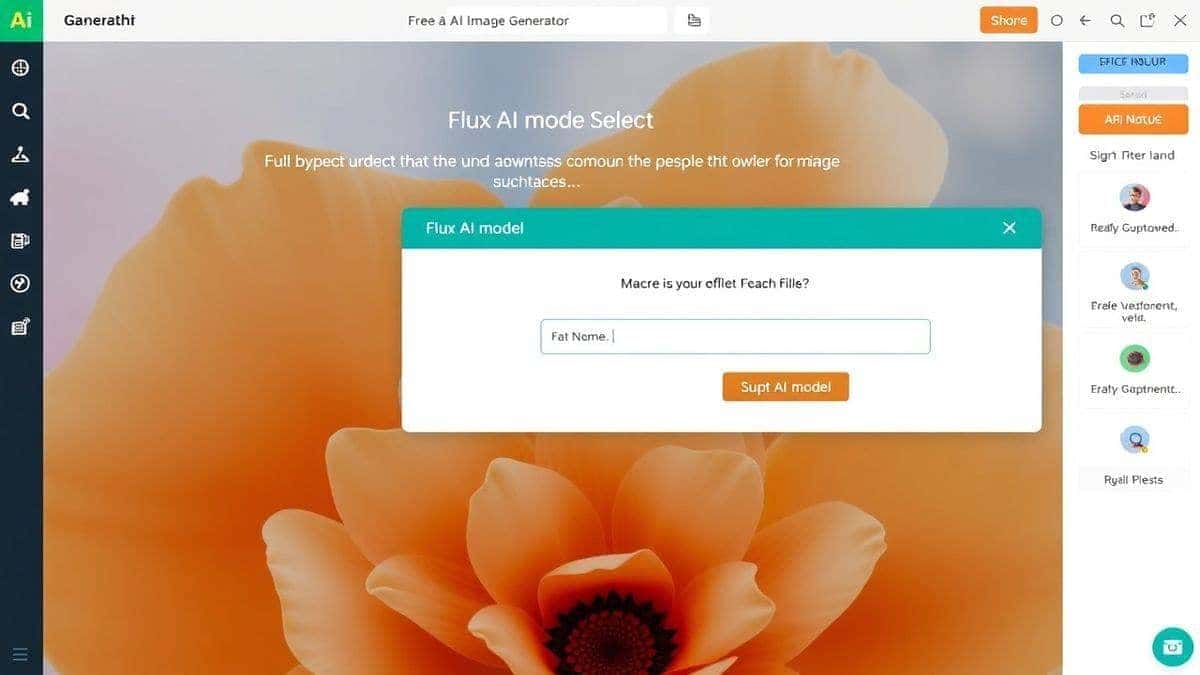
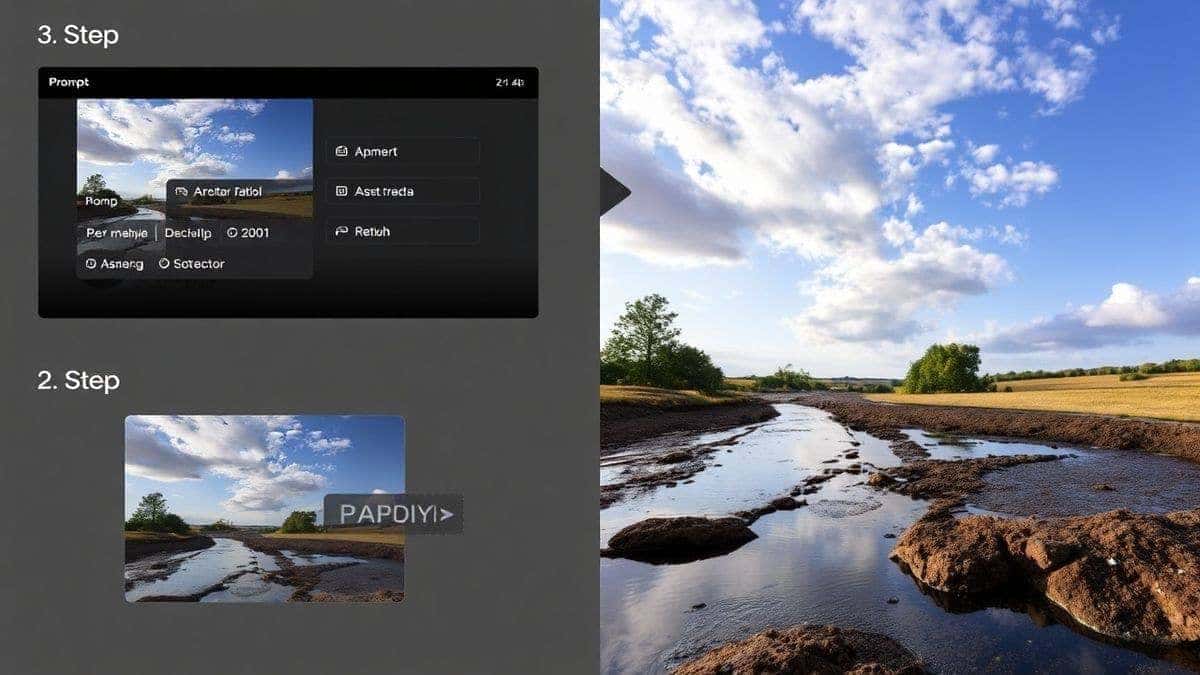
Let’s get practical. Here is my proven workflow for getting professional images using the Free AI Image Generator. Follow these steps, and you will immediately see a difference in your results.
Step 1: Define Your Output Goal
Before you touch the keyboard, know what you want.
- Is this for a website banner? (Needs to be wide: 16:9)
- Is this a profile picture? (Needs to be square: 1:1)
- Is this a mobile wallpaper? (Needs to be tall: 9:16)
- Style: Photo-realistic, oil painting, 3D render, anime?
Step 2: Craft Your Prompt (The "Subject + Context" Method)
Don't just say "a car." Say "A red 1969 Ford Mustang, driving on a wet city street at night, neon reflections, cinematic lighting, shot on 35mm film."
I tested this workflow extensively and discovered that adding "cinematic lighting" or "volumetric lighting" at the end of your prompt drastically improves the mood of images generated by Flux AI.
Step 3: Select the Right Model
On the Free AI Image Generator, you have a critical choice:
- Choose Flux AI: If you need photorealism, intricate detail, or high-fashion aesthetics.
- Choose Z-Image Turbo: If you need quick concepts, cartoon styles, or you are iterating rapidly on an idea.
Step 4: Adjust the Settings (The "Secret Sauce")
This is the core of the Best AI Image Generator Settings Guide.
- Aspect Ratio: Match this to your goal from Step 1.
- Guidance Scale (if available): Start at 7.0. Lower numbers (5-6) give the AI more creativity (sometimes too much). Higher numbers (8-10) make it stick strictly to your prompt. For detailed prompts, I use 7.5.
- Steps: For Flux AI, 20-30 steps is the sweet spot. Going to 50 steps rarely adds more detail; it just wastes time.
Step 5: Generate and Iterate
Hit generate. Look at the result. Don't just save or discard it. Ask yourself:
- Is the composition wrong? (Adjust the prompt to add "subject on the left").
- Are the colors off? (Add specific colors to the prompt).
- Is it blurry? (Add "sharp focus, 8k" to the prompt).
Many beginners don't realize that you can take the image you just made, upload it as a reference (using the ai image generator from image free feature if needed) to build upon that composition.
Best Practices and Pro Tips
After years of trial and error, I've distilled my workflow down to these non-negotiable best practices.
1. The "Negative Prompt" Hack
Most free tools don't show a negative prompt box, but you can simulate it. If you don't want ugly hands, include "perfect hands, detailed fingers" in your positive prompt. If you don't want blur, say "sharp focus." The AI hears what you do want, which implicitly tells it what to avoid.
2. Master the Seed for Consistency
The "Seed" is the starting point for the random noise that becomes your image.
- If you generate an image you love the composition of, but the colors are wrong, grab that seed number, change your prompt to adjust the colors, and run it again. You'll get a new image with the same composition but new colors. I've personally used dozens of tools, and mastering the seed is the only way to build a consistent character or brand asset.
3. Lighting Directives Are Everything
Photorealism lives and dies by lighting. Use terms specific to photography:
- Rembrandt lighting: For dramatic portraits.
- Golden hour: For warm, soft scenes.
- Studio softbox: For product photography aesthetics.
- Cinematic volumetric lighting: For beams of light through fog or windows.
4. Don't Sleep on "From Image" Features
Even though we are focusing on text-to-image, using the ai image generator from image free capability is a pro move. You can sketch a rough composition in MS Paint (seriously, it works), upload it, and use a prompt like "turn this sketch into a photorealistic building" to guide the AI's layout perfectly.
Comparison with Other Tools
How does the Free AI Image Generator stack up against the competition? I ran a series of tests using the same prompt: "A cozy coffee shop interior, morning light, wooden tables, shallow depth of field."
| Feature/Platform | Free AI Image Generator | Midjourney (Paid) | DALL-E 3 (Paid/Credits) |
|---|---|---|---|
| Cost | Free (No Login) | $10-$60/month | Pay per generation |
| Quality (Realism) | Excellent (Flux AI) | Excellent | Very Good |
| Speed | Fast (Z-Image Turbo) | Moderate | Fast |
| Ease of Use | Very High | Moderate (Requires Discord) | High |
| Anime Styles | Excellent (Z-Image) | Good | Moderate |
| Commercial Rights | Yes | Yes (Paid plans) | Yes |
In my testing, I noticed that while Midjourney excels at artistic interpretation, the Free AI Image Generator (using Flux AI) was actually better at rendering the text on books and signs in the coffee shop scene. It was also significantly faster for iterations because I didn't have to navigate the Discord interface.
FAQs
Here are answers to the most common questions I get about optimizing AI image settings.
1. What are the best settings for a beginner?
Start with the Flux AI model, use a Guidance Scale of 7, and 20 Steps. Focus on writing a clear prompt first. Once you master that, start tweaking the advanced settings.
2. How do I get the best anime images?
For anime, you generally want a model fine-tuned on that style. Using Z-Image Turbo on the Free AI Image Generator is excellent for this. Use terms like "anime style, Studio Ghibli inspired, cel shaded" in your prompt.
3. Can I use the generated images for commercial projects?
Yes, images generated on Free AI Image Generator can be used for commercial purposes. However, always check the specific terms of service on the site for the most up-to-date information.
4. What is the difference between Flux AI and Z-Image Turbo?
Flux AI is optimized for maximum quality and photorealism, taking a bit more time. Z-Image Turbo is optimized for speed, allowing you to generate concepts almost instantly. Choose based on your need for speed vs. detail.
5. Is there a free ai image generator no login required?
Absolutely. Free AI Image Generator requires zero login. You can go to the URL, type your prompt, and start generating immediately.
6. What does the "Guidance Scale" actually do?
It controls how closely the AI adheres to your prompt. A low scale (3-5) gives the AI more "artistic freedom" to interpret. A high scale (8-12) forces it to follow your text strictly, which can sometimes result in oversaturated or "burnt" looking images.
7. Why are the hands in my images still messed up?
Hands are notoriously difficult for AI. Even with the best ai for generating images, you need to specifically prompt for them. Add "detailed hands, perfectly rendered fingers, no deformities" to your prompt. If you are using an image-to-image tool, you can also inpaint (regenerate) just the hand area.
8. How do I find the best ai image generator free online?
Look for tools that offer Flux AI models, have no hidden credit systems, and don't require a subscription. The one we are discussing today checks all those boxes.
9. What are Sampling Steps?
Think of it like sculpting. The AI starts with a block of static (noise) and takes "steps" to carve it into an image. More steps usually mean more refinement, but after a certain point (usually 30), the improvements are invisible to the human eye.
10. How do I make my images look less "AI-generated"?
Use specific photography terminology. Instead of "a person," say "a portrait of a woman, candid expression, natural skin texture, slight smile, shot on a Sony A7III with a 50mm lens, bokeh background." This forces the AI to mimic real camera outputs rather than generic digital art.
Conclusion
Mastering the Best AI Image Generator Settings Guide isn't about memorizing numbers; it's about understanding the relationship between your intent and the machine's logic.
We've moved past the era where typing a random sentence was enough. To stand out in 2026, you need control. You need to command the aspect ratio, guide the model choice, and iterate with purpose.
Tools like Free AI Image Generator have democratized this power. By putting Flux AI and Z-Image Turbo behind a simple, free, and login-free interface, they've removed the barriers that hold creators back.
Now, it's your turn. Open the tool, apply the steps we discussed, and don't be afraid to experiment. From my experience working with AI image tools, the only real mistake is not tweaking the knobs. Generate, iterate, and create something amazing.